Introduction
GitHub Advanced Security (GHAS) for Azure DevOps has recently become generally available (official release). This powerful tool serves as a Static Application Security Testing (SAST) solution designed to identify security vulnerabilities within your repositories. GHAS can prevent developers from inadvertently pushing secrets and detect security issues in your project’s dependencies (such as NuGet and npm packages).
With our example pipeline code below, you will within a few minutes have a fully automated way to detect security issues in your code and reduce the risk of being hacked.
Do you need a SAST solution?
A SAST solution is used in the development/coding phase to analyze the application for security issues. It can be used in multiple ways, e.g., by scanning new code that is going to be pushed into the code repository (and blocking if it does not pass the checks), scanning each new commit to a branch, or maybe performing a nightly scan.
Serious security flaws are detected every day in third-party software that you use. If you don’t update to a patched version, your software is vulnerable to hackers. So, yes! You need a SAST solution.
How to get started?
I promised you to get started in a few minutes, so let’s dive right in.
- Go to your Azure DevOps project area as an administrator.
- In Azure DevOps project settings, go to Repositories and select a repository. This example is a repository with an open-source .NET library called Ipify.
- Select the Settings tab, set Advanced Security to On, and check the Block secrets on push (you don’t want to upload/publish any API keys or similar by mistake). Store and access them using e.g. Azure KeyVault instead.

Note: It’s also possible to set some extra (optional) related permission settings in the Security tab.
Open your IDE and add a new Azure DevOps Pipeline YAML file in the desired directory. I named it sec-scan-trigger.yml. Paste in the following content:
trigger:
  branches:
    include:
    - main

jobs:
- job: securityScanJob
  displayName: Scan Library
  pool:
    vmImage: windows-2022
  steps:

  - task: AdvancedSecurity-Codeql-Init@1
    inputs:
      languages: csharp
      querysuite: 'security-extended'

  - task: AdvancedSecurity-Codeql-Autobuild@1

  - task: AdvancedSecurity-Dependency-Scanning@1

  - task: AdvancedSecurity-Codeql-Analyze@1
This pipeline file will trigger on any new commit to main and contains of one job with four tasks.
- The AdvancedSecurity-Codeql-Init task initializes the scanner and has multiple input parameters, here are only two used. Since this repo only contains of C# code only the csharp language is configured. Other languages such as JavaScript, Python, Go, etc are also supported. More information about the querysuite can be found here and here.
- The AdvancedSecurity-Codeql-Autobuild task is really nice, it searches for .NET projects and builds them. It’s possible to use custom build tasks here instead if needed.
- The AdvancedSecurity-Dependency-Scanning task searches for vulnerabilities in dependencies (e.g. NuGet and NPM packages). The task uses the GitHub Advisory Database.
- The AdvancedSecurity-Codeql-Analyze task tries to find vulnerabilties and coding issues.
Commit your changes and push to the repository (any branch).
In Azure DevOps, create a new Pipeline.
- Go to the meny Pipelines and select the sub-menu Pipelines.
- Press New Pipeline button
- Select Azure Repos Git (YAML)
- Select your repository
- Select Existing Azure Pipelines YAML file
- Select Branch and the Path to your newly pushed sec-scan-trigger.yml file.
- Press Continue.
- (Run it manually so you don’t need to wait for the next commit to the report)
You can now view the report in the Azure Devops menu Repos > Advanced Security.
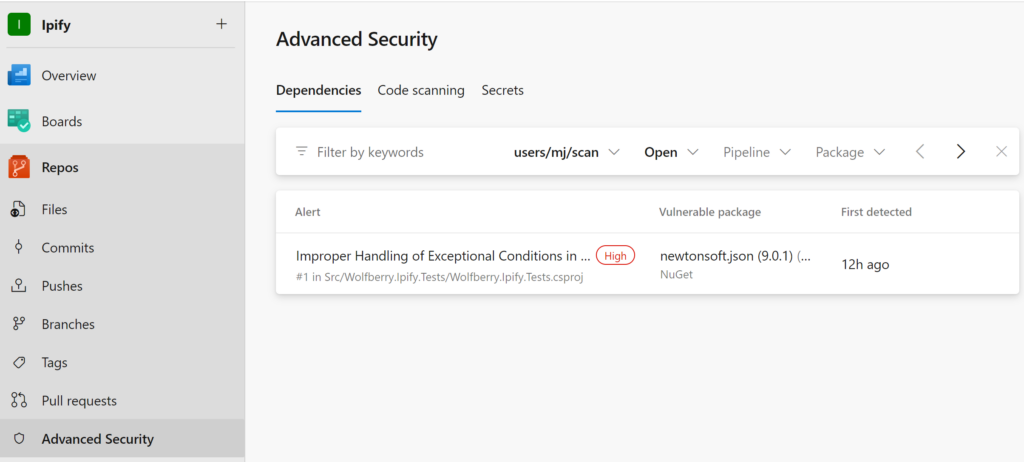
The alerts come with a good explanation:
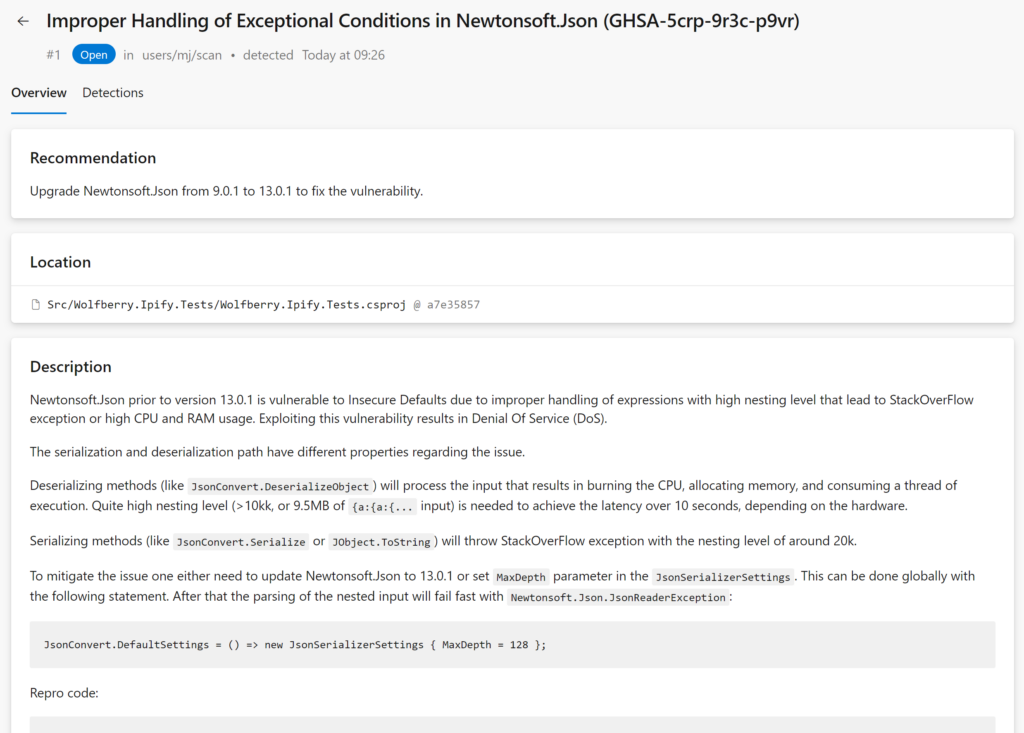
It is advisable to run this scanning in a dedicated pipeline, separate from your current CI/CD or Pull Request pipelines. The reason is that scanning a large .NET MVC application, which includes both C# and JavaScript code, may take up to an hour, while a smaller .NET micro-service can be scanned in just 10 minutes.
When utilizing the standard Microsoft-hosted agents and scanning a sizable repository, such as a mono-repo, you may encounter disk space limitations with the default scanning configuration. In such cases, you have to either split the security scanning into separate pipelines, split the mono-repo into multiple repositories (results in separate pipelines), or configure a self-hosted agent with a larger disk capacity.
Pricing
Microsoft’s pricing model for Advanced Security is based on the number of unique active committers within your repositories. Active committers are users who committed to an Advanced-Security-enabled repository in the last 90 days. The cost is a flat rate of USD 49 per active committer per month. Advanced Security is billed directly to the Azure subscription associated with your Azure DevOps organization. The cost is not per repository (the user cost is shared for the whole Azure DevOps organization subscription).
For open-source projects with hundreds or thousands of contributors, it will be expensive. But for smaller teams with a huge code base, it’s very cost effective. And you don’t need to spend time on patching or configuring a server.
Alternatives
GitHub Advanced Security is a robust choice, but it’s not the only option available. Numerous alternatives are available in NIST’s list of Source Code Security Analyzers. Your selection should align with the unique requirements of your company, project, and team to ensure the best fit for your specific needs.
Summary
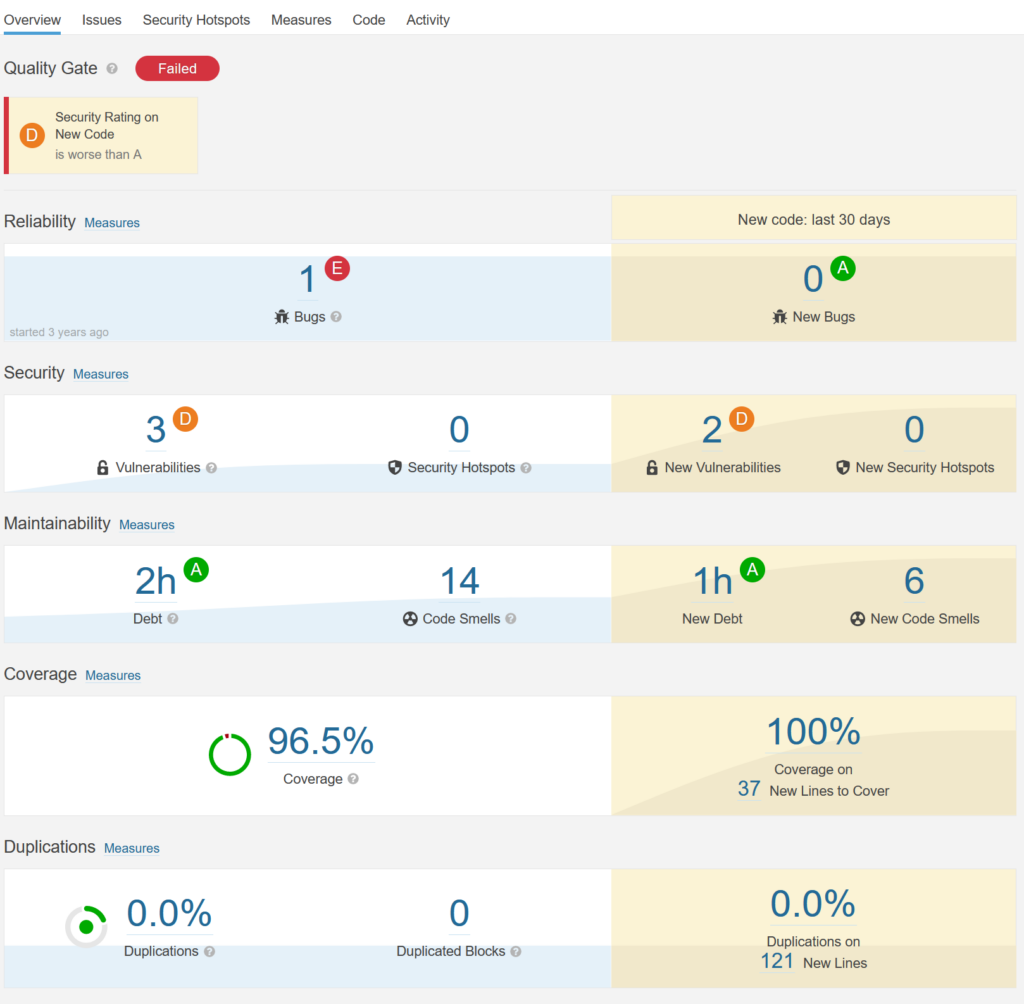
GitHub Advanced Security for DevOps is a good complement to e.g. SonarQube when it comes to security scanning. It provides advanced security analysis (using the semantic code analysis engine CodeQL) with minimal configuration through Azure DevOps.
Don’t let your software run with worldwide known security flaws – detect and fix it as soon as possible.
See also
